E-mail seo@sino-purification.com

Time:2025-08-20 13:36:52 Reading volume:
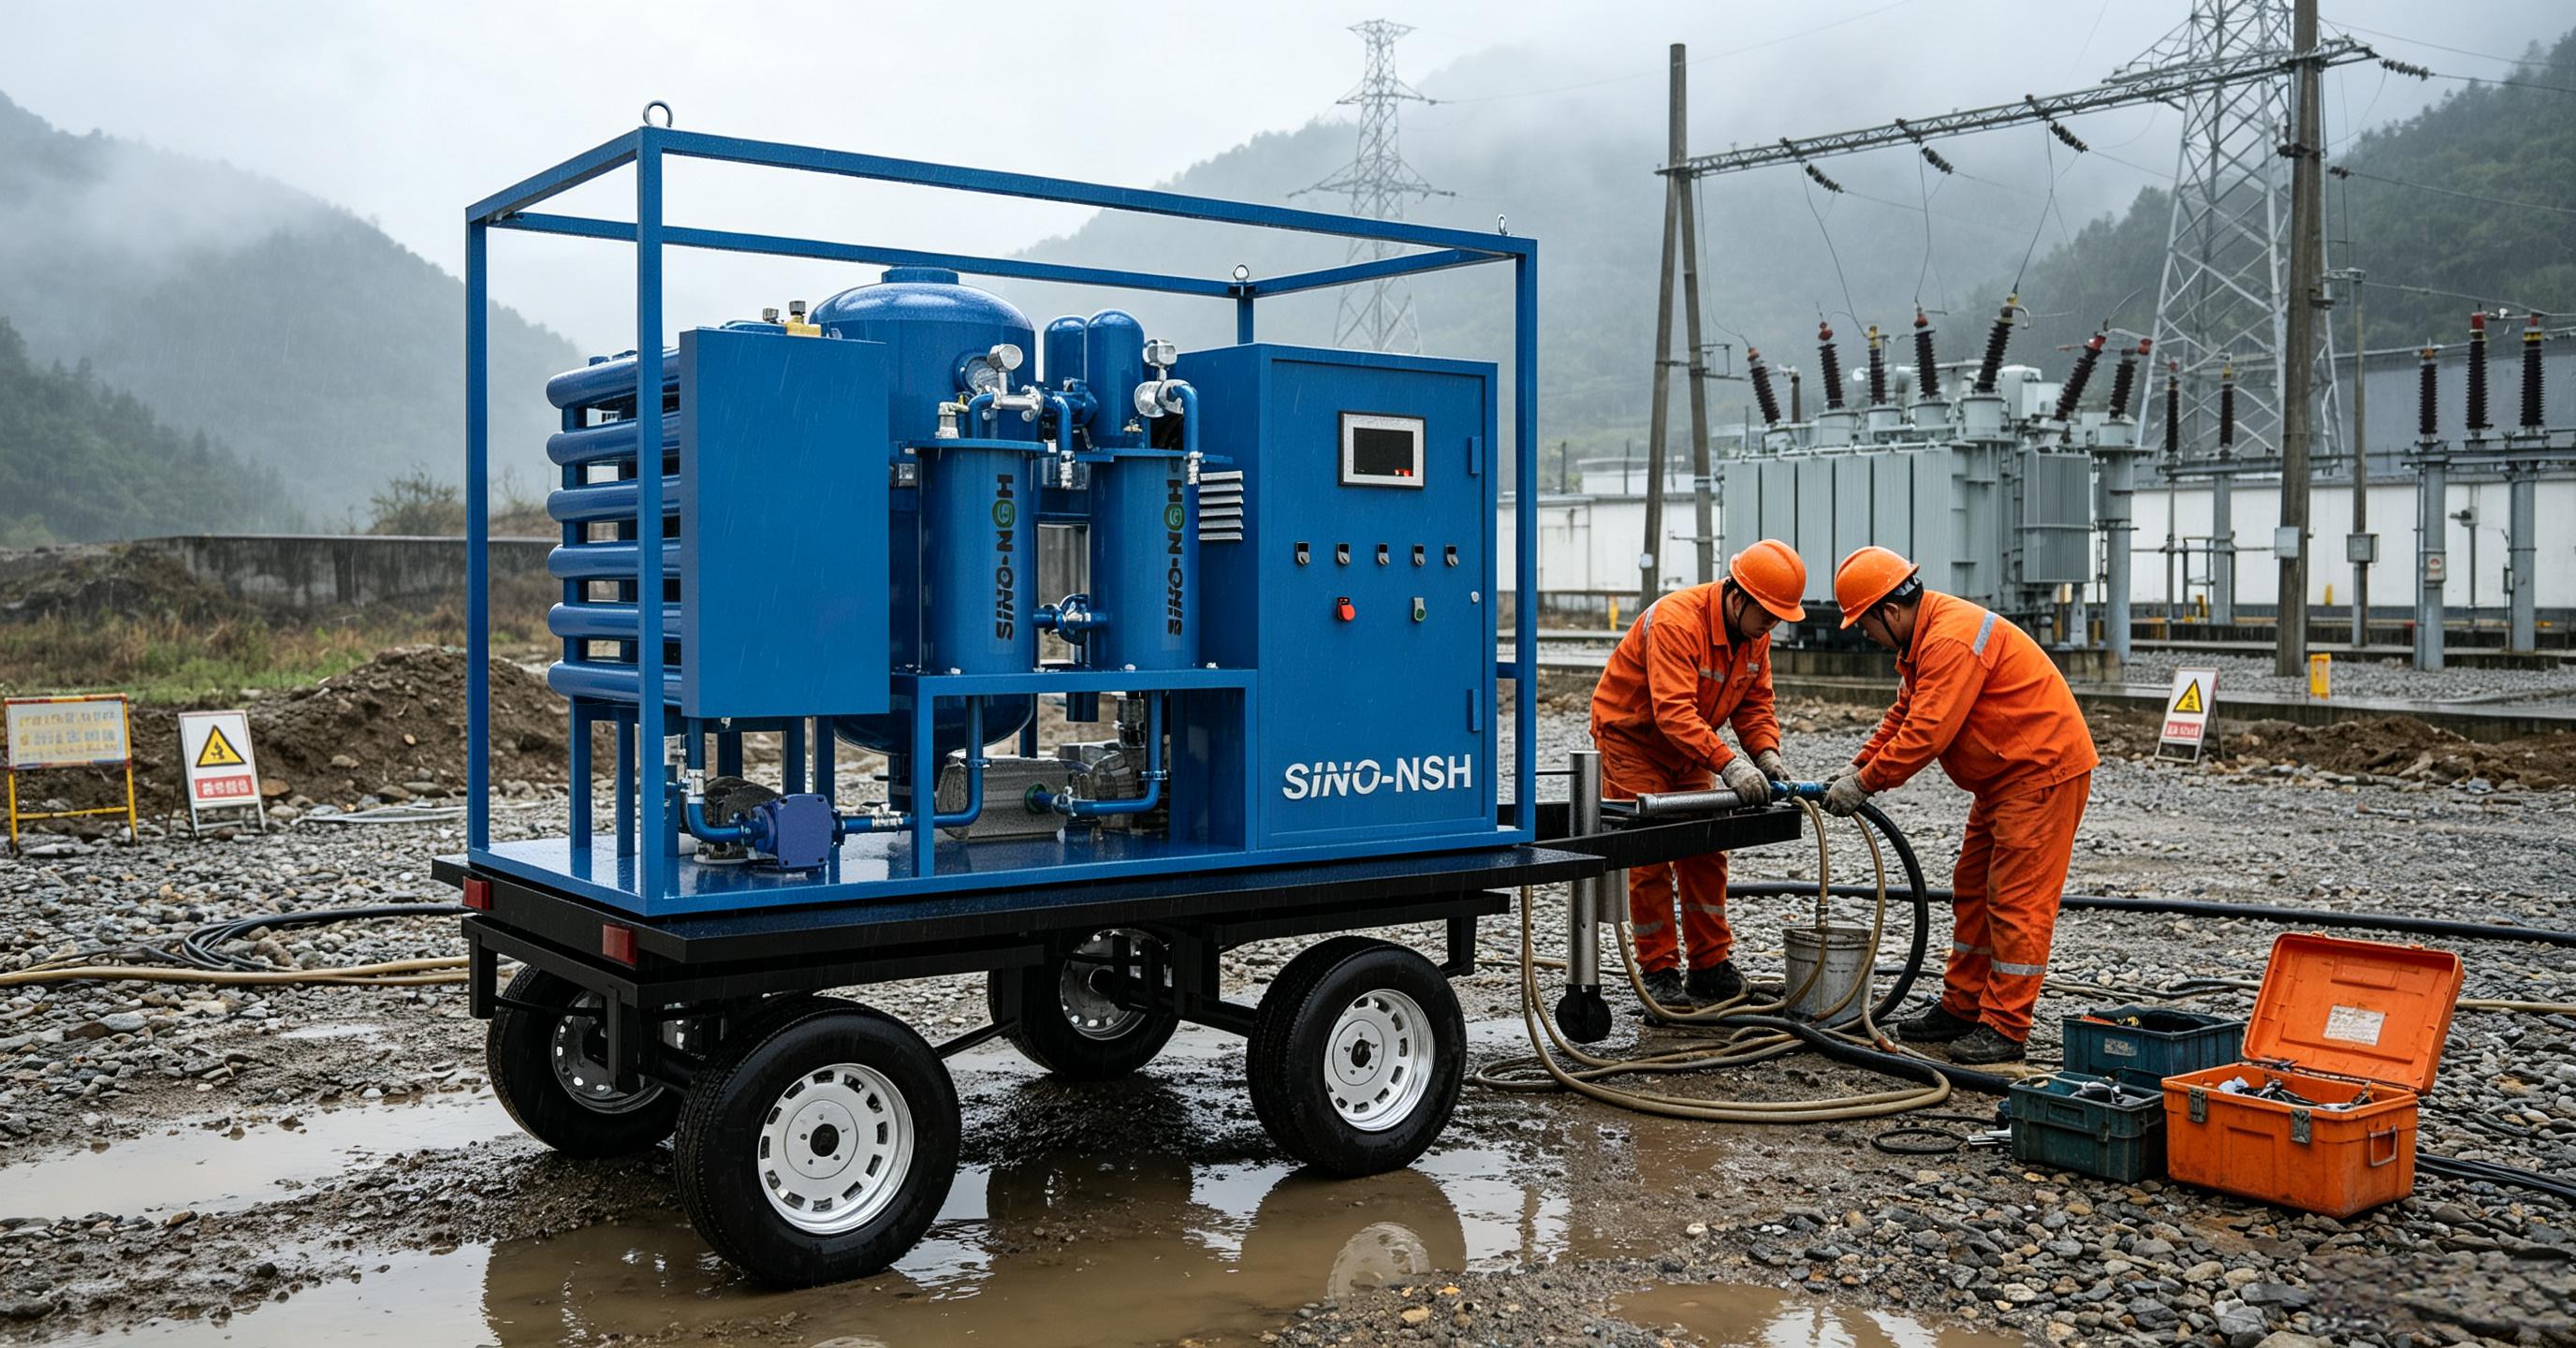
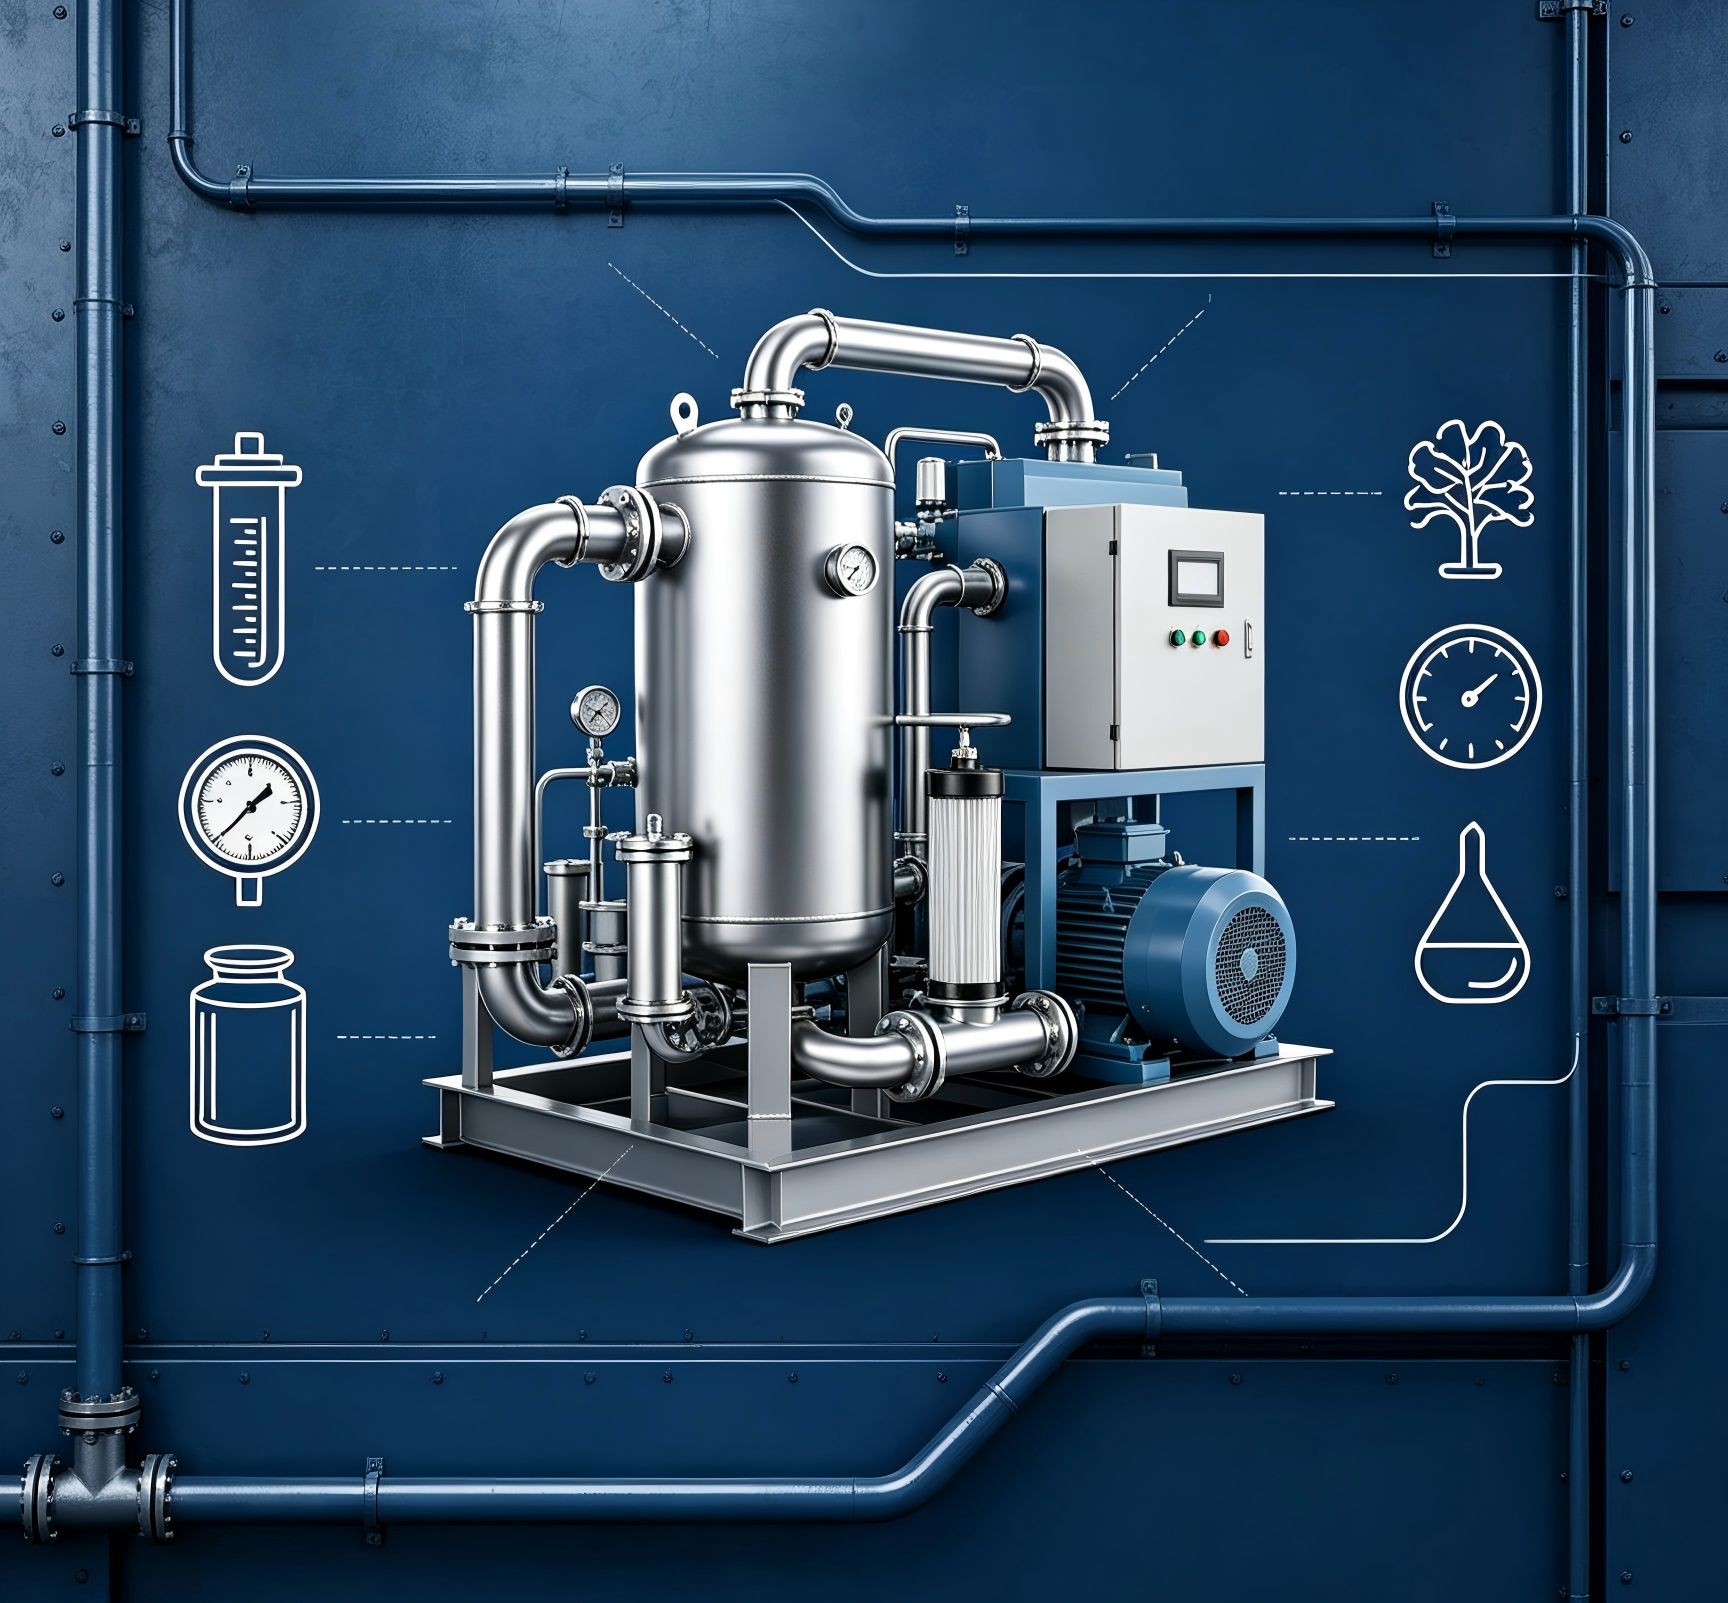
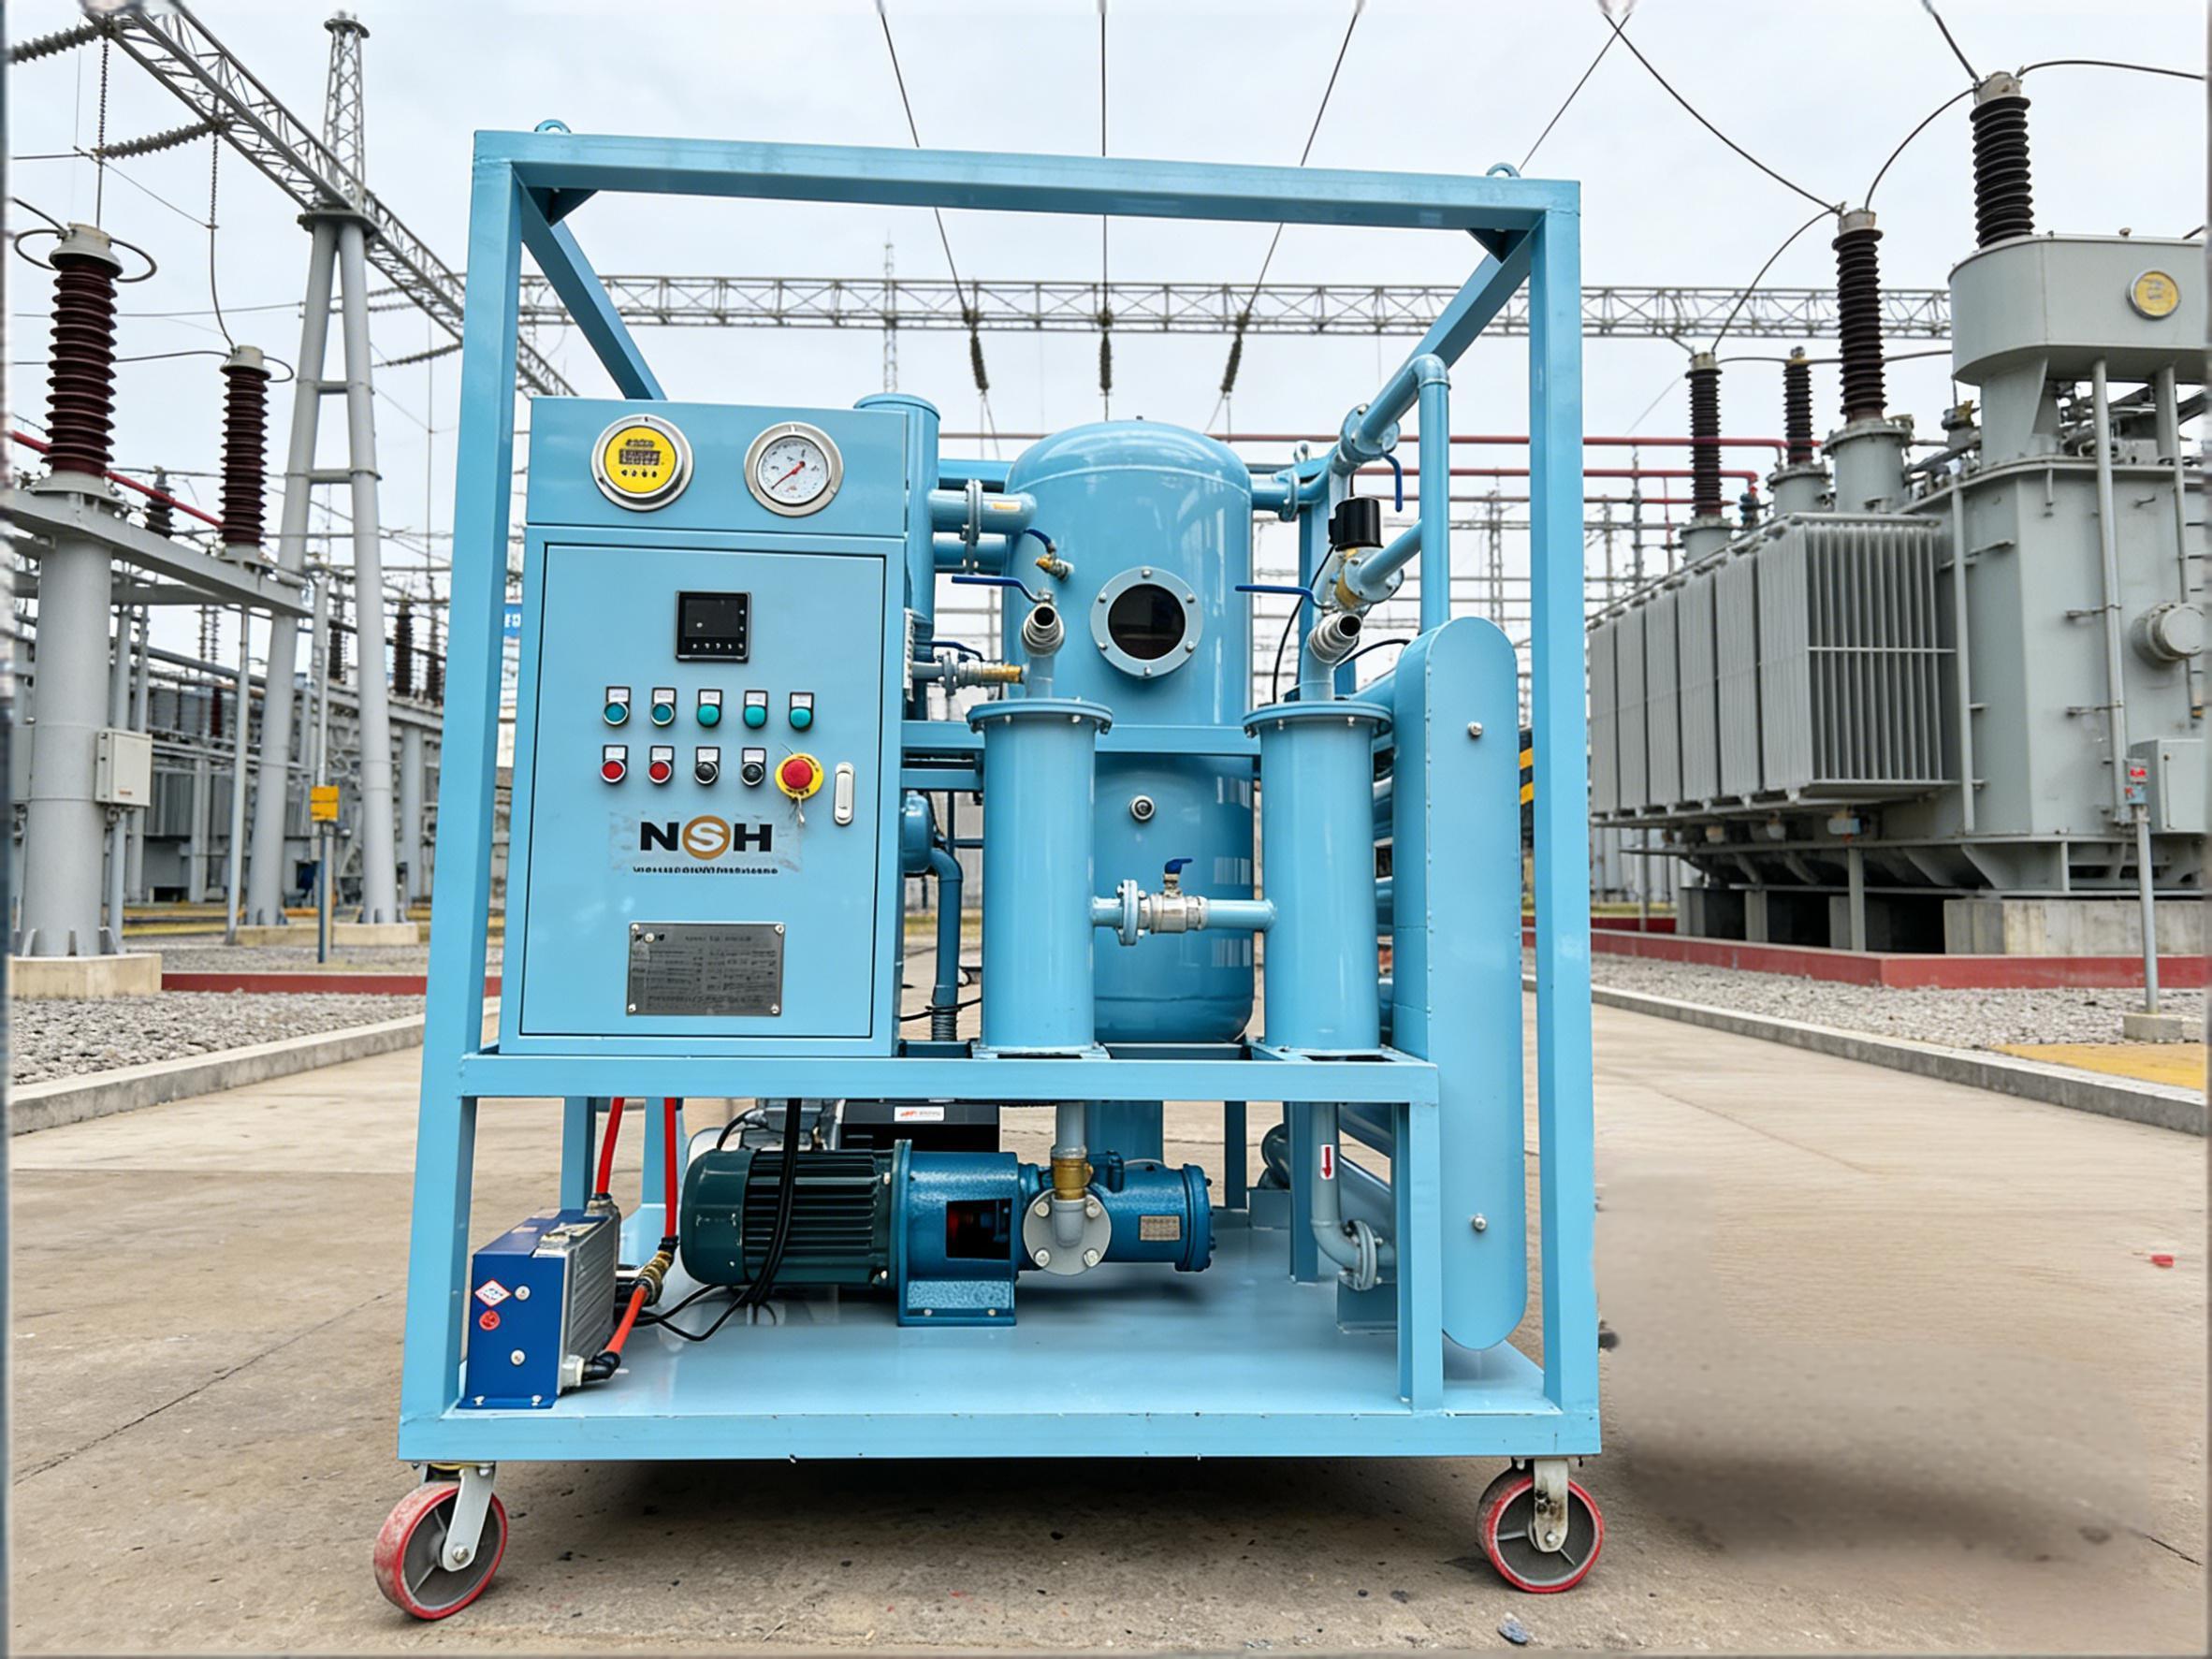
Professional and safe guide to replacing oil purification system filters. Following this guide will ensure correct operation, avoid personal injury and equipment damage, and maintain oil purification quality.
Preparation:
1. Confirm the filter element model:
Always use genuine or certified compatible filter elements. Inferior filter elements will be ineffective and may damage the equipment.
2. Tools:
Appropriate wrench (usually a belt wrench or chain wrench, for opening the filter housing)
New filter element
New O-ring/gasket (it is strongly recommended to replace the gasket with every filter element replacement)
Clean cloth (lint-free cloth is best)
Oil pan (to catch any residual oil)
Other tools that may be needed (such as a screwdriver)
3. Environmental Preparation:
Ensure the work area is clean, well-lit, and well-ventilated.
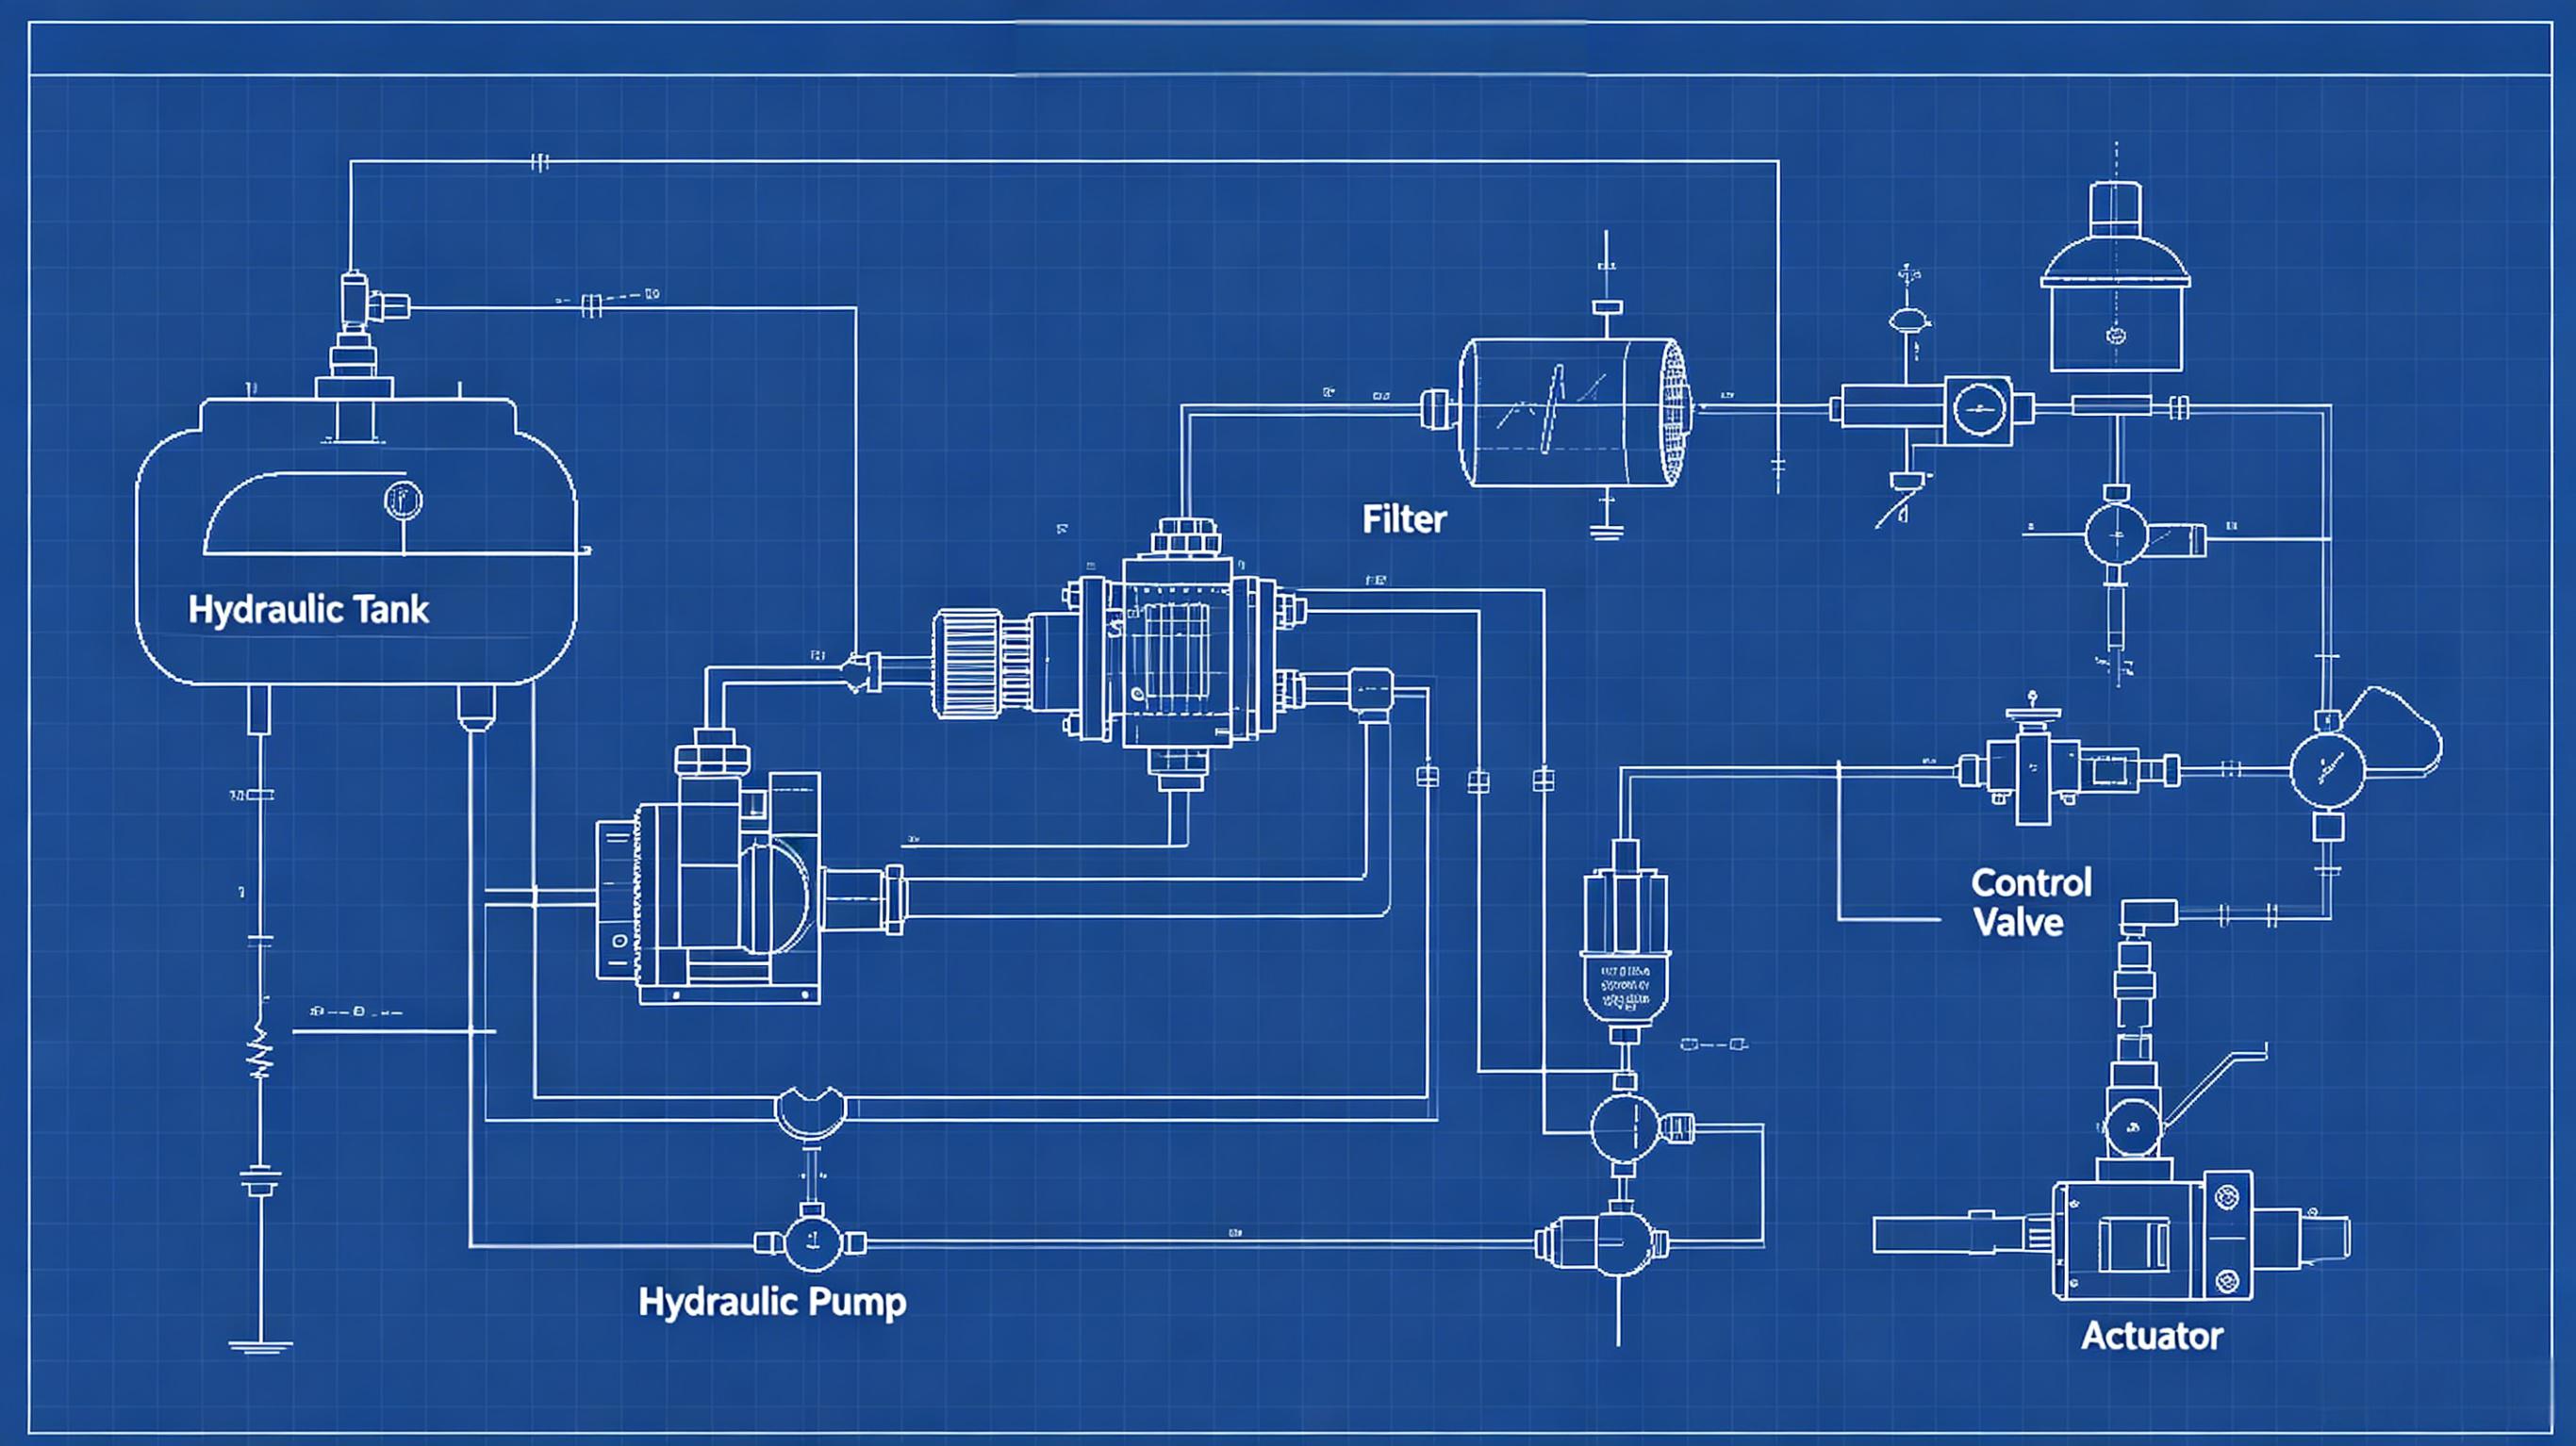
Part 1: General Replacement Procedure (Main Circuit Filter Element Example)
Step 1: Shutdown and Isolation
Properly shut down the oil purification system.
Close the inlet and outlet valves and isolate the unit from the transformer or oil system. Turn off the main power switch and lock out the unit.
Open the door to allow sufficient air to cool inside the unit.
Step 2: Relieve Pressure
Locate the pressure relief valve (if present) and gently open it to release pressure inside the filter housing.
Slowly open the vent plug or gag (if present) on the filter housing to further relieve pressure. Be aware that a small amount of oil may leak out; collect it in an oil pan.
Step 3: Remove the Old Filter Element
Use a suitable wrench (do not use a pipe wrench to avoid damaging the housing) to remove the filter housing cover or bowl by turning it counterclockwise.
Once completely loose, unscrew and carefully remove the cover by hand. Be careful of the internal spring (if present) and any remaining oil.
Remove the old filter element and place it directly in an oil pan to avoid spilling oil.
Carefully inspect and clean the interior of the filter housing to remove any remaining debris or sludge.
Remove the old O-ring. Thoroughly clean the seal groove and sealing surface with a lint-free cloth to ensure there is no dirt, fibers, or debris from the old seal.
Step 4: Install the New Filter Element
Apply a thin film of clean dielectric oil to the new O-ring. This will help the seal install smoothly and provide a better initial seal.
Place the new O-ring correctly into the seal groove, ensuring it is not twisted.
Center the new filter element in the housing, ensuring it seats correctly on the filter seat or support bracket. (Note: For filter elements with directional requirements, such as some particulate filters, ensure the flow arrow is aligned correctly.)
If there is an internal spring, ensure it is properly seated.
Step 5: Reassembly
Carefully replace the filter cover and tighten it clockwise by hand, ensuring even compression on the seal.
Use a wrench to tighten the cover again. Note: Only tighten an additional 1/4 to 1/2 turn. Overtightening can damage the seal or threads. Refer to the equipment manual for torque requirements, if available.
Step 6: Vent (Critical Step!)
Slightly open the valve upstream of the filter or open the vent valve on the filter. Slowly open the vent plug until the oil flowing out contains no more bubbles (pure oil can be seen flowing out).
Once pure oil is flowing out, tighten the vent plug immediately.
This step is crucial! If air in the filter housing is not completely purged, it may enter the system and cause cavitation in the oil pump or affect vacuum levels.
Step 7: Leak Check and Restore Operation
Check that all disassembled parts are properly installed.
Slowly open the inlet and outlet valves.
Connect the power supply and start the unit at low pressure and low speed, or simply operate it.
Carefully inspect the filter cover seal for leaks. If slight leaks are detected, immediately stop the unit and lightly tighten the cover. If leaks persist, inspect the seal for damage or improper installation.
Once leaks are confirmed, resume normal operation.
Record the replacement date, filter element model, and operating hours to facilitate planning the next maintenance.
Always put safety first, prepare carefully, operate carefully, and ensure effective venting, which are the keys to a successful filter replacement. Good maintenance records will help you predict when the next replacement is due.