E-mail seo@sino-purification.com

Time:2025-08-20 14:06:14 Reading volume:
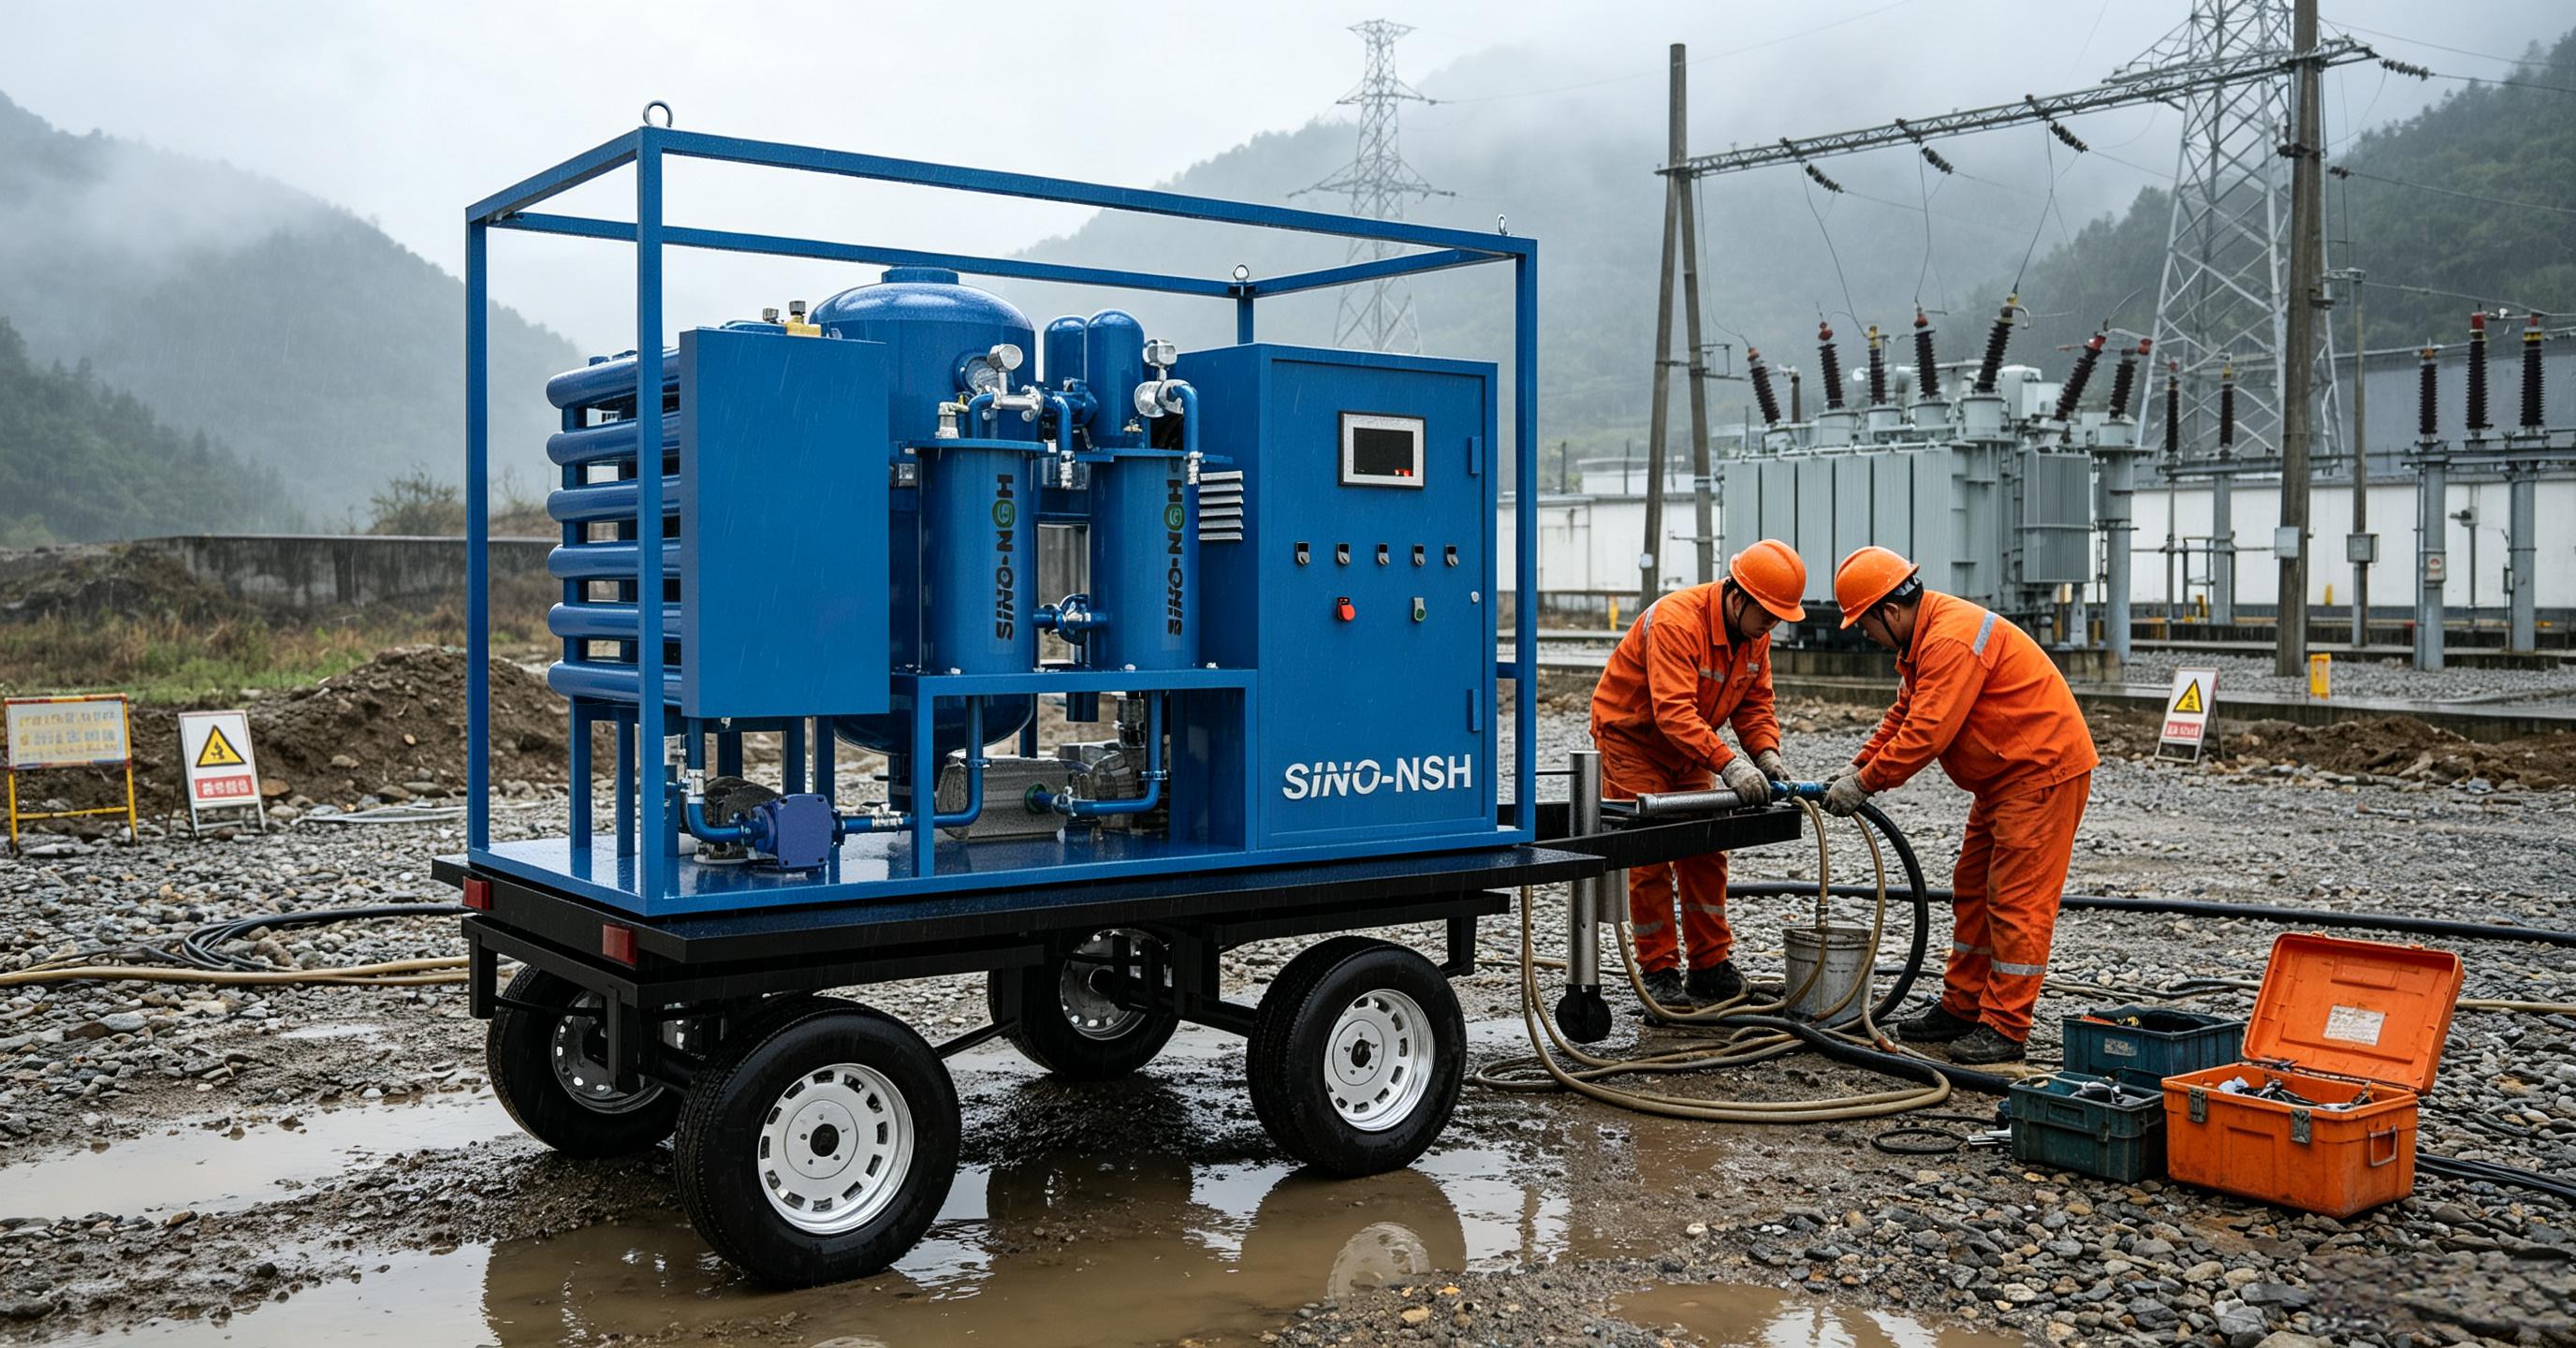
Oil purifier leakage is a common problem that requires serious attention. Leakage not only wastes oil and pollutes the environment but can also indicate equipment failure and even lead to safety incidents.
To troubleshoot oil purifier leaks, follow the principle of "external-to-inside, simple-to-complex." Below are detailed steps and solutions:
1. Immediately stop the machine: Upon discovering an oil leak, immediately stop the oil purifier.
2. Turn off the power: Disconnect the main power supply to the equipment to ensure safe operation.
3. Collect oil: Catch any dripping oil in a container and wipe any oil from the machine and the surrounding floor with a rag to prevent slips and further contamination.
Carefully observe the color, location, and condition of the leaking oil; this will help you quickly locate the problem.
Oil color: Is the leaking oil purified (lighter) or untreated, contaminated oil (darker)?
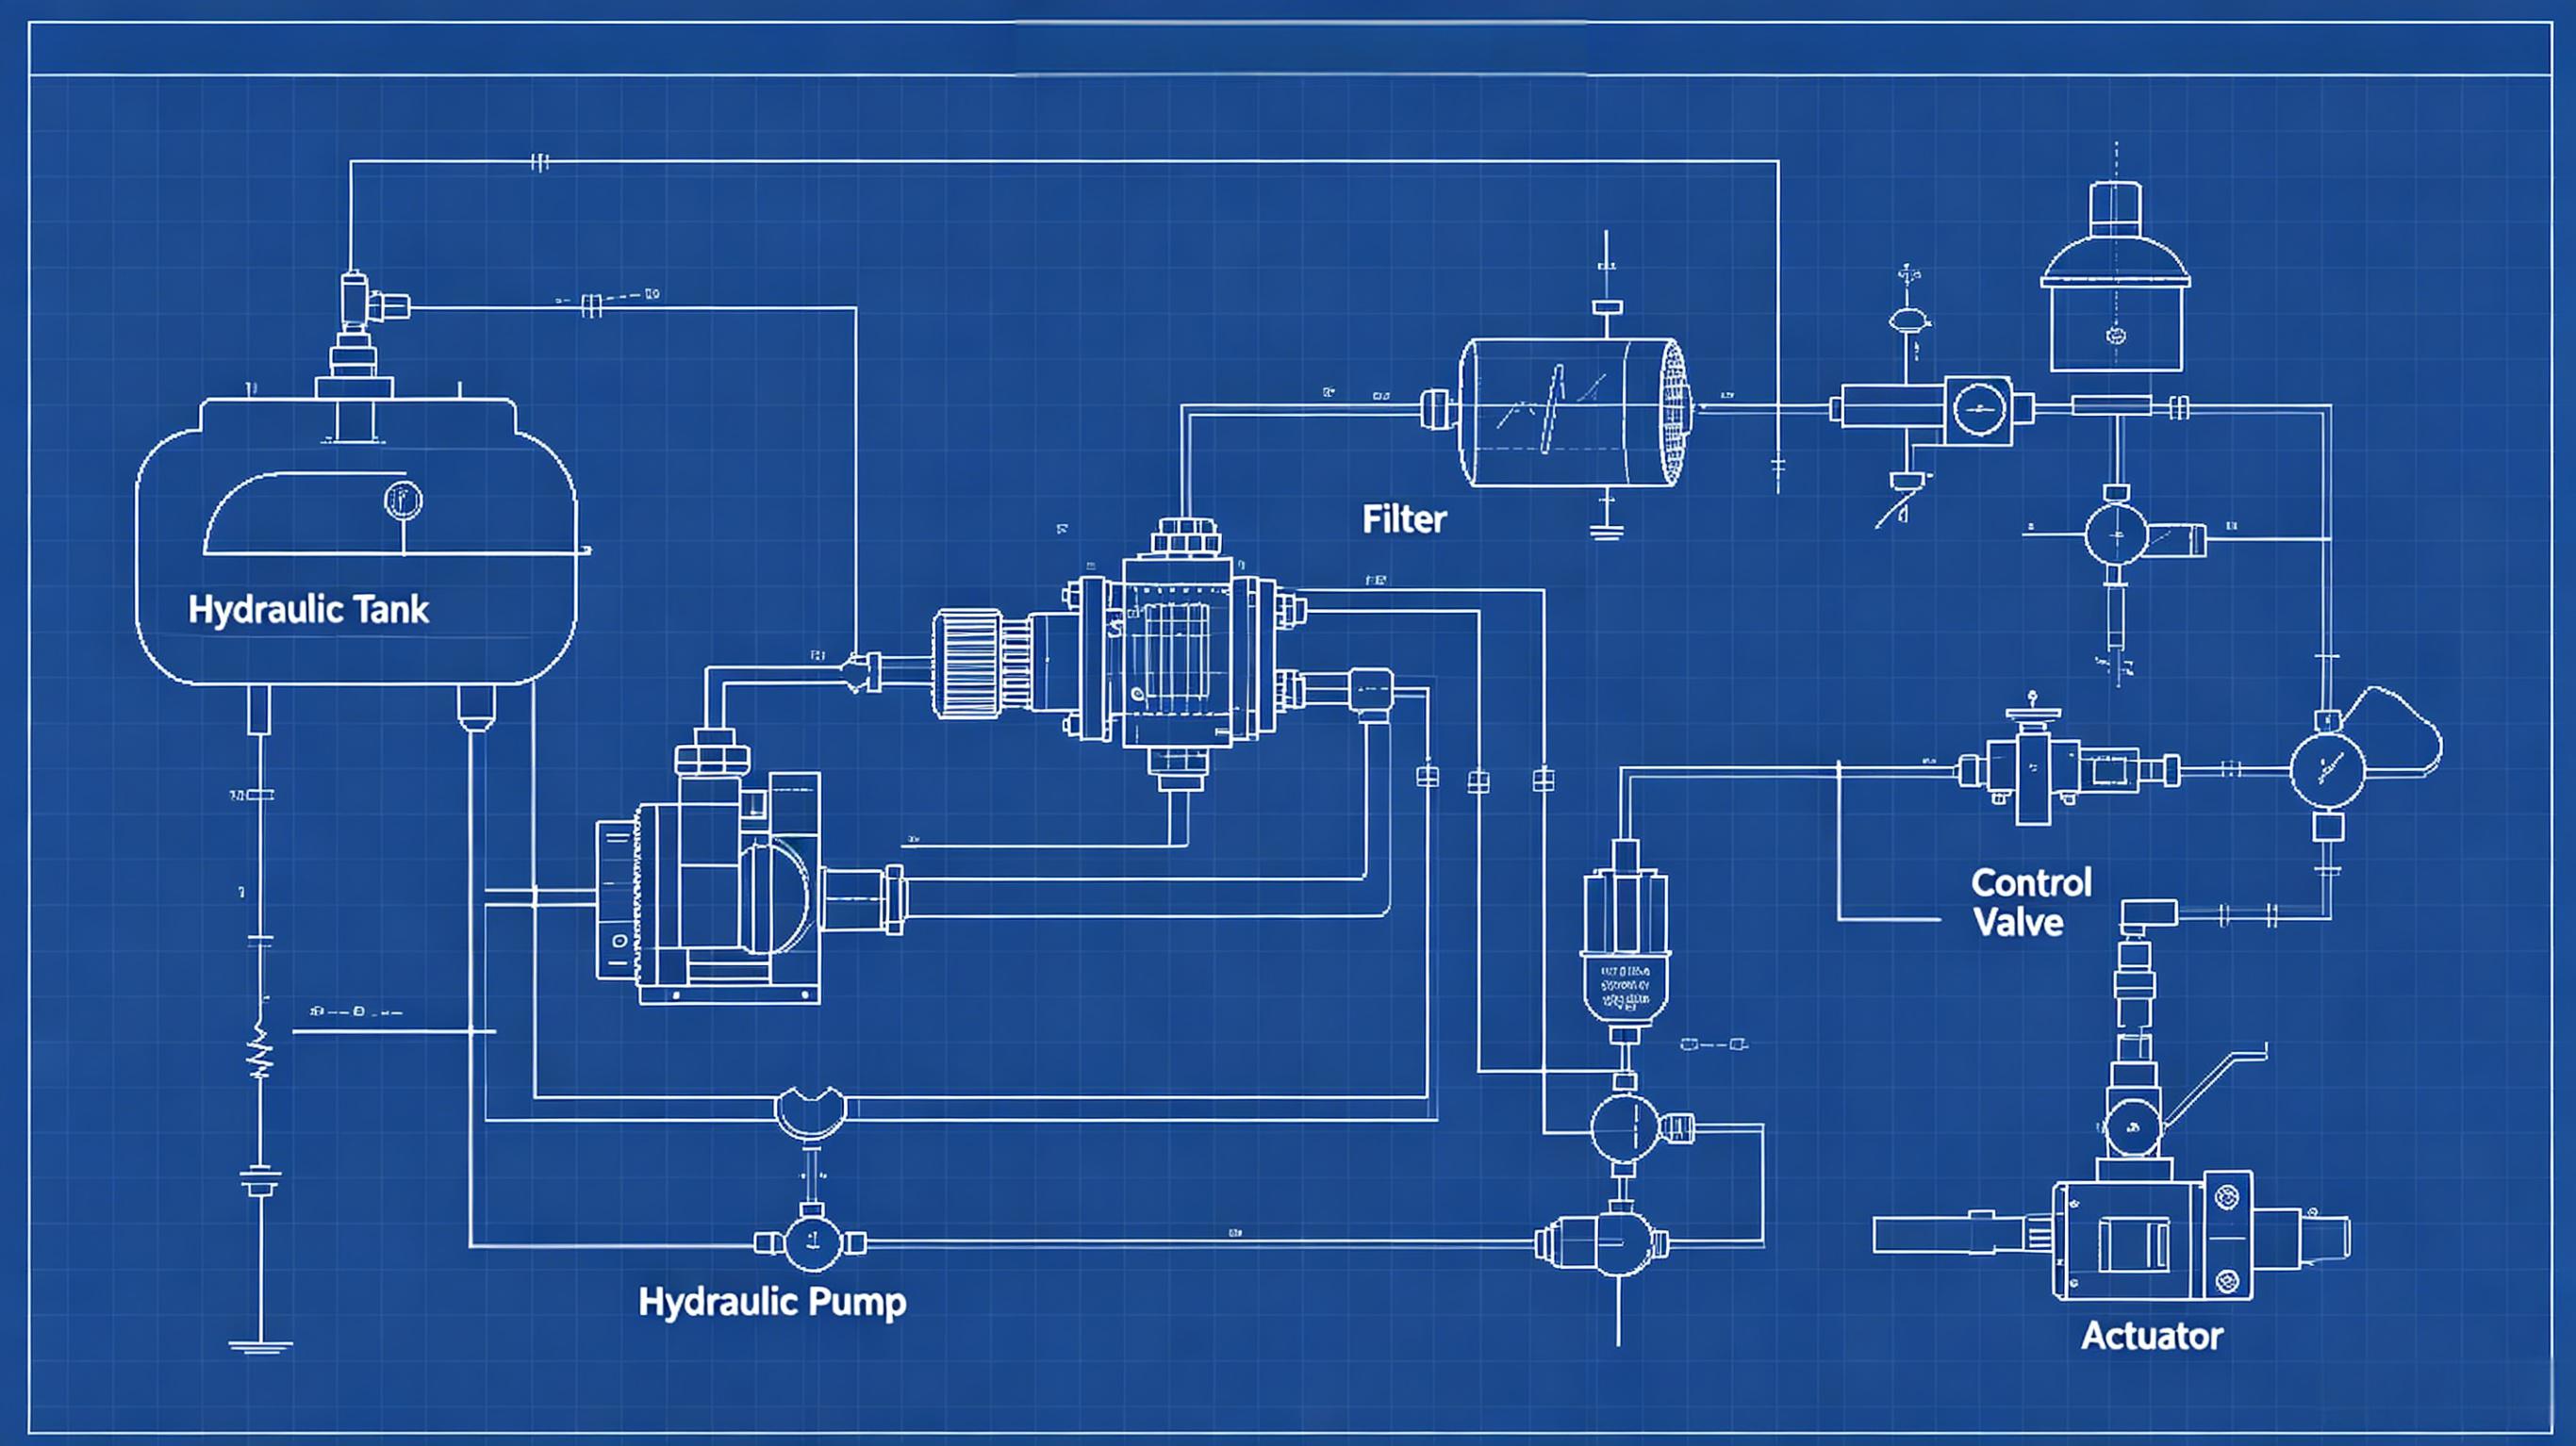
Location: Is the oil leak at the fuselage connection, pipe joint, filter bottom, drain valve, or near the oil pump?
Status: Is it a continuous drip or intermittent splashing?
1. Leaking from Seals and Fittings (Most Common)
Possible Locations:
Inlet and outlet pipe flange connections
Filter cover seal
Drain valve, drain valve
Sight glass (window) seal
Oil pump shaft seal
Causes:
Aging, wear, or deformation of O-rings or gaskets: Loss of elasticity due to long-term use or high temperatures.
Improper installation: The seal is not properly seated in the groove, is twisted, or is scratched during installation.
Loose bolts: Equipment vibration may have loosened bolts.
Solution:
Tightening: Check and retighten all visible bolts and fittings (CAUTION: Do not overtighten to avoid damaging threads or compressing seals).
replace the seal: Close all valves, release system pressure, remove the old seal, clean the seal groove, and replace it with a new seal of the same model and material. Apply a small amount of lubricant to the new seal during installation to facilitate installation and protect the seal.
2. Leakage in the filter or separator body
Possible locations:
Filter housing mating surface
Vacuum chamber sight glass or connection port
Heater flange seal
Causes:
Casing damage: Cracks or pinholes caused by impact.
Impurities on the sealing surface: Impurities or fragments of the old gasket remain, preventing the new seal from tightening.
Excessive pressure: Abnormally high system pressure exceeds the designed pressure capacity.
Solution:
Clean the sealing surface: Thoroughly remove all impurities and adhesive residue from the upper and lower sealing surfaces.
Inspect the casing: Carefully inspect the casing for cracks. For minor cracks, use a special metal repair compound (for emergency use only). The most reliable solution is to replace the damaged component. Check the safety valve and pressure gauge: Confirm that the system pressure is normal and that the safety valve opens normally at the set pressure.
3. Vacuum Pump Oil Spray
Symptom: A large amount of oil mist is spraying from the vacuum pump exhaust port.
Cause:
Oil level too high: Overfilled the vacuum pump tank.
Clogged exhaust filter (muffler): This results in poor exhaust flow, forcing oil vapor to spray out through gaps or poor seals.
Emulsified vacuum pump oil: A large amount of water has mixed into the oil, causing severe foaming.
Solution:
Check and adjust the oil level: After shutting down the machine, maintain the vacuum pump oil level at 1/2 to 2/3 of the oil level.
replace the exhaust filter: Regularly replace the vacuum pump exhaust filter.
replace the vacuum pump oil: If the oil is emulsified, thoroughly drain and clean the vacuum pump tank, then add new, appropriate vacuum pump oil.
4. Leaking drain solenoid valve or manual valve
Symptom: Continuous oil dripping or water leaking from the bottom of the valve. Cause:
The valve's internal seal is damaged.
The valve is stuck by debris and cannot fully close.
Solution:
Disassemble the valve and clean the internal valve core and valve seat.
replace the valve or valve core seal assembly.
If oil leakage persists after checking all common issues above, a more in-depth inspection is required.
Pressure Test: If safety is ensured, apply compressed air or liquid (preferably water) to the test and check for leaks at low pressure. This procedure should be performed by a qualified professional.
Check the level sensor: Incorrect level signals may cause equipment control failure, such as an oil drain valve opening when it should not.
Check the control system: A PLC or relay failure may cause the solenoid valve to malfunction.